The Brief
Based on your reflections at the end of each section, think about which aspects of the course you would like to revisit. Go through your sketchbook, looking at each one separately, taking stock of what you have practised and learned throughout the course.
Think about your experience with the sketchbook circle and what you gained from this opportunity. Read back over your reflective statements and notes in your learning log and note any points or thoughts that may have changed since you originally made them. Focus on the most positive aspects of your reflections.
- Make a list of materials or processes you feel connected with.
- Draw a skull and crossbones and list the exercises or processes you didn’t enjoy doing.
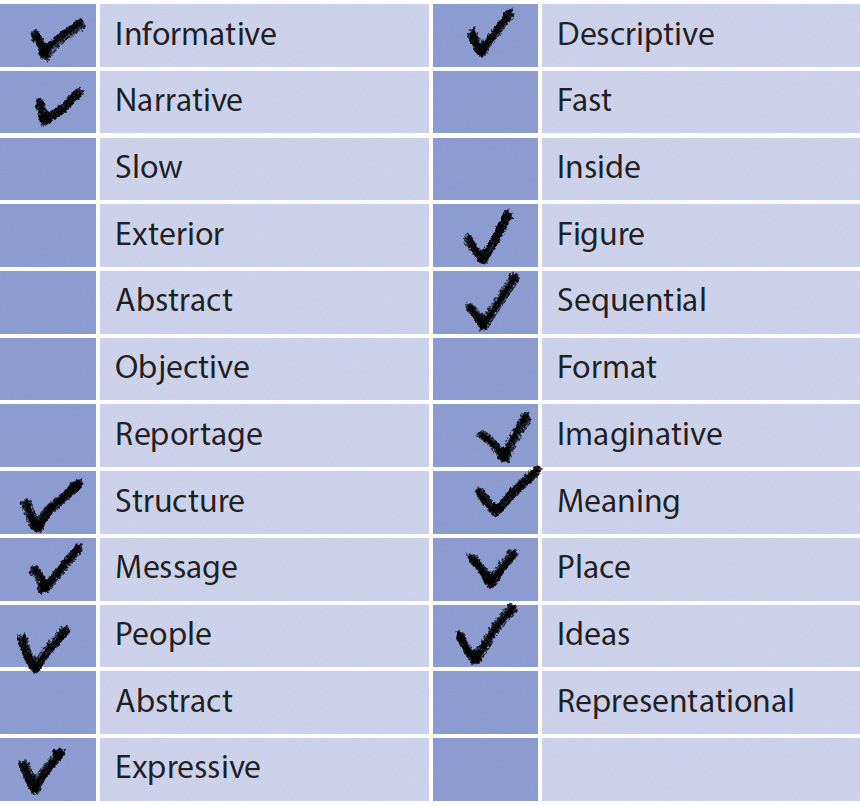
- Put a tick next to the words that you most empathise with from this list.
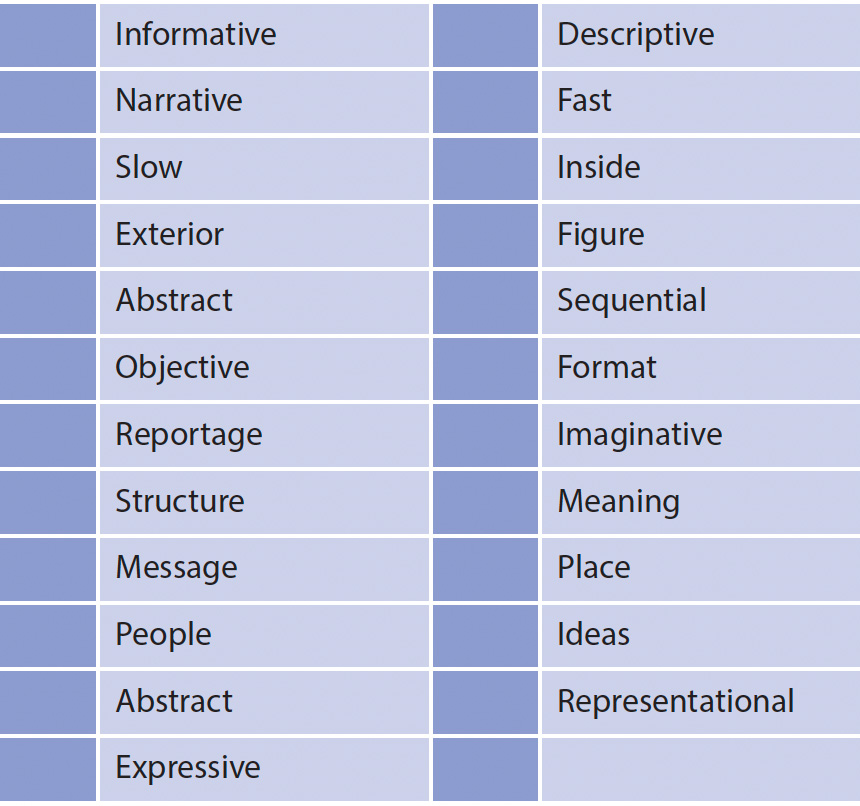
Look at the list of quotes from section one and your initial responses to them.
- Have your opinions and thoughts changed about how you keep a sketchbook?
- Which comments do you now most empathise with and why?
- What have been the most surprising changes to your thoughts about sketchbooks?
- Which of the exercises and assignments would you like to do more of or return to?
Go through your tutor reports and write down any phrases or words that best sum up the goals or objectives that you should focus on now.
Which aspect of the course would you like to revisit?
Dr Emma Powell’s Sketchbook – Part 1
I would like to revisit Dr Emma Powell’s sketchbook and try the three different approaches my tutor suggested.
- Make a sketchbook using a mix of papers, including waste such as newsprint, wrapping paper, packaging etc and work into the pages in context to what you are documenting, therefore you may not use pages in sequential order but instead use each when appropriate.
- Take apart a newly completed sketchbook, mix it up, all different pages and sequence together as mini sets of visual research and bind together in a new sketchbook.
- Print my digital work on a range of papers and waste material and bind all the experimental prints into one sketchbook. (Do not stick into a sketchbook)
I also like how Dr Emma Powell collects photographs in her sketchbook, sketches them out, and develops them further from the sketches. She then takes the sketches that are the most successful and photographs the project in another way; for instance, if she explored trees with intersecting branches, she would photograph other objects intersecting with each other. Next, she will use colour combinations or media she would not normally use.
I would like to try this method because my tutor mentioned in my feedback in Part 4, “Your selection for ‘top 10 visual diaries” are nearly all examples of where the practitioner sketches in the same style of their illustrations. Do you think this approach is more how an artist works than an illustrator?
This is an often debated question, but I want to find out if I can get more out of my sketchbook as an illustrator in the making. Am I using the sketches directly from my sketchbook, or do I work with them, explore more possibilities, and even have ‘conversations’ with them, as explained in this course?
I quite like the idea of having a little sketchbook clipped together with a bulldog clip, stapler or sewing thread. This small stack of papers can be the same sketch or mark-making but developed in different ways, such as different papers, media and different sequence pieces (cutting the sketch up and pasting it together again).
Sequence and Narrative – Part 4
I will be revisiting this part often for the pure reason that it is an excellent way to generate ideas, e.g. ‘Conversation with Pictures’, building a narrative and getting the most out of your sketchbook work.
I will often use ‘Fill it up FAST!’—especially using a foldy and trying to draw fast by limiting my time.
‘Story Structures’ is a great way to explore a brief through thumbnail sketches. I will most definitely refer to the 8-Point Story Arc Structure going forward. This process can be applied to either a single illustration or a sequence, as my tutor pointed out.
Sketchbook Circle
I joined the digital sketchbook circle on Discord. It was fascinating to observe each student’s approaches to the same theme and how different each outcome was. This made me realise how broadly you should think when working as an illustrator. People have different perceptions of the same subject matter.
As my tutor said in Part 1 feedback, “As creatives, we rarely work in our bubble; it’s more often we work with others to share and develop ideas.” Working in a sketchbook circle made me realise how important it is to work with others.
Have your thoughts and opinions changed about how you keep a sketchbook?
Yes and No.
No. I still feel the same about what I have learned in previous exercises and from illustrators I have researched, such as, ‘embrace wonky’, ‘use your sketchbook as a visual note-making tool’, ‘don’t wait for the perfect moment – just draw’ and ‘accept that not all drawings will be finished’.
Yes. I was surprised to learn how my opinion has changed about using photos in my sketchbook. I used to think that it is always best to draw from life, but now, after working through this course, I have come to realise that there are many ways to use photos in your sketchbook, especially when developing a project.
For instance, you can use rapid sketches and limited line drawings when out on location, reducing the detail within each frame to the bare minimum, whilst retaining enough information to “read” and add the details later by taking a photograph of the scene.
I have also learned that developing the sketches or mark-making you have collected in your sketchbook by ‘working’ with it in different ways such as sequencing, rearranging the composition, trying different applications and materials is an important part of getting the most out of your sketchbook.
Materials and processes I connect with
The materials I most connect with are:
- Graphite pencils and water-soluble graphite.
- Watercolour Inks
- Acrylic Paint and Markers
- Watercolour pencils and Inktense Pencils
- Neo-colour Aquarelle water-soluble wax pastels
- Gelato Crayons
- Oil-based coloured pencils
- Using twigs, feathers, grasses, different papers and even waste.
I like to cover the paper with a watercolour base and then work with coloured pencils, crayons or acrylic markers as a second layer and control the opacity, textures and vibrancy.
Words I most empathise with
Phrases from my tutor reports that sum up my goals:
Part 1: Everyday Sketchbooks
Enjoying the process of being free to explore and develop ideas using sketchbooks, without initially being over-concerned about quality, therefore allowing the unexpected to be revealed.
Photographs as extra reference is good to use, in particular when developing rather than initiating work.
As creatives we rarely work in our bubble, its more often we work with others to share and develop ideas.
Ideas don’t fall out of the sky; we have to look for them.
It may be a tiny section of a page that has merit, rather than the whole.
Part 2: Sketchbook as Object
Practise quick drawing the key shapes you see, which make up the composition viewed. Draw as much as possible from life to get used to movement of what you are drawing. Try to only use photos as secondary back-up reference when refining drawings (which is maybe what you are already doing).
You may already be aware that historically black-and-white photography has always been associated with documentary and colour associated with family snaps therefore less serious. However, this argument is somewhat outdated today, but still relevant in some circumstances.
Part 3: People and Places
Always import your illustration work into an InDesign document when creating posters, book covers etc.
By using a thicker marker to first establish the shapes, which then naturally form the composition, is a really sound way to start drawing on location to capture the essence of what you see and experience.
The ‘free association’ exercise is a great process to free the mind, in order to generate initial visual research in response to a brief; the outcomes could prove to be a great starting point, which you may never have thought of had you started a project in a more conventional way.
Your approach taken for ‘observation – topography’ was on-point, therefore bear in mind whenever you need to generate primary visual research.
Refer back to some of your research for ‘illustrative drawing’ and further question the notion of natural v built environments or nature v manufactured. Consider how illustrators add words to make communication of ideas less ambiguous.
Consider how illustration is more akin to graphic design/communication rather than fine art; therefore the visual language often needs to be more direct.
Part 4: Sequence and Narrative
Remember a cover has to invite the reader, so it must look engaging and have that pick-up appeal.
When sketching a sequence of an event, such as at home observing someone preparing a meal or out on location the activity in a public space such as a train station. In both situations you may remain in one position, but your eye focuses on different pieces of information, similar to a film camera.
Your selection for ‘top 10 diaries’ are nearly all examples of where the practitioner sketches in the same style of their illustrations. Do you think this approach is more how an artist works than an illustrator?
Do you feel now that maybe you were trying to capture too much detail and that less is more for ‘fill it up fast’ sketchbook? For example, as Joohee Yoon creative process? Could you maybe have drawn quickly in line such as Adebanji Alade and adding small colour swatches and notation? How might photos of each observation helped to fill in the detail in your studio?
Practise ‘storyboarding’ by reducing the detail within each frame to the bare minimum, whilst retaining enough information for a person who is unfamiliar with the narrative, to read. Focus on composition, weight of line and tone to provide a sense of mood and atmosphere. Many of the frames you drew communicated well but equally, some were so detailed that it was unclear, as a reader, what to focus on.
Overall, the course so far has been very insightful on how to use my sketchbook as groundwork for illustration work. My reflections above are all the aspects which I would like to revisit or focus on going forward in Part 5 but also when continuing my studies and work.
