The Brief
Choose one of the three options, generating a new sketchbook that focuses on some of the areas you identified from your action plan. This sketchbook will give you a chance to show a heightened development of your personal voice and illustrative potential.
Each of the options will lead you to work towards making imagery that will function within specific design contexts. This may include type accompanying, or as part of your drawings, as you move towards considering them more specifically as pieces of visual communication.
Choosing option 1: The Kitchen – Visualising the Everyday
As an illustrator, you have been asked to produce some drawings of food that will accompany recipes for a series in a weekend supplement on the theme – everyday foods of the world. The aim of the illustrations in the article is to have a sketchbook feel that suggests a creative, relaxed, dynamic approach to cooking. The drawings should feel as though they are fresh and journalistic- an inventive record and celebration of food.
Step one – OBSERVED DRAWING
Start off by making drawings based on observation of food and the kitchen environment. This could be a process of cataloguing ingredients and objects on one page or doing a range of drawings with different materials on different pages. You may want to collage and draw onto printed ephemera, such as labels, paper bags, and tissue paper that fruit is sometimes wrapped in. Be inventive and playful. Remember that food items such as tea, beetroot, spices, juice and food colouring can make good alternatives to “traditional” drawing materials. Potatoes and lemons can be used to print with.
Step two – SEQUENCE
Think about the process of preparation of a real or imagined recipe for the spread. Explore making a sequence of sketches based on one or more of the items you initially experimented with. Alternatively, you might think about the stages of a recipe and use a sequence to describe some or all of the steps. As before think about the materials, marks and textures that you use as you explore the sequence, considering if the steps of the visual journey vary in terms of scale, colour, texture or mark making.
Step three – ILLUSTRATION
The aim of the final stage is to demonstrate awareness of the visual languages you have demonstrated so far and to employ them in a new drawing that focuses on the presentation of your food for a new illustrative context.
Either choose one of, or a set of drawings you have already made and create a least one more image that compliments them stylistically. Choose one of these formats and briefs to work within:
- A poster to advertise a festival of food of the world
- A wall mural or design that can be stuck on the wall for a global food restaurant
- A window backdrop for a tea and cake emporium
- A design that would work on a tote bag for an organic food shop
Use materials and mark-making, colour, tone and texture to demonstrate a consistent visual language.
To help you achieve this think about:
- What scale did you originally draw at?
- What aspects of the SCAMPER process can you use to expand or build upon your earlier sketches?
- Which materials and surfaces did you work on?
Final Reflective Statement
Write a short reflection about your experience of this module as a whole and include it in your learning log.
Step one – OBSERVED DRAWING
My kitchen is where I spend a lot of my time cooking every day and there is no better place to challenge myself to look beyond the ordinary and try to find the exciting and new in the items I work with every day.
I looked at what I could find in my pantry, in my fridge, on top of my fridge, inside the cupboards and even outside the kitchen window. The carrier bags are my favourite, they are made with unusual paper, prints, motives, text and colours.
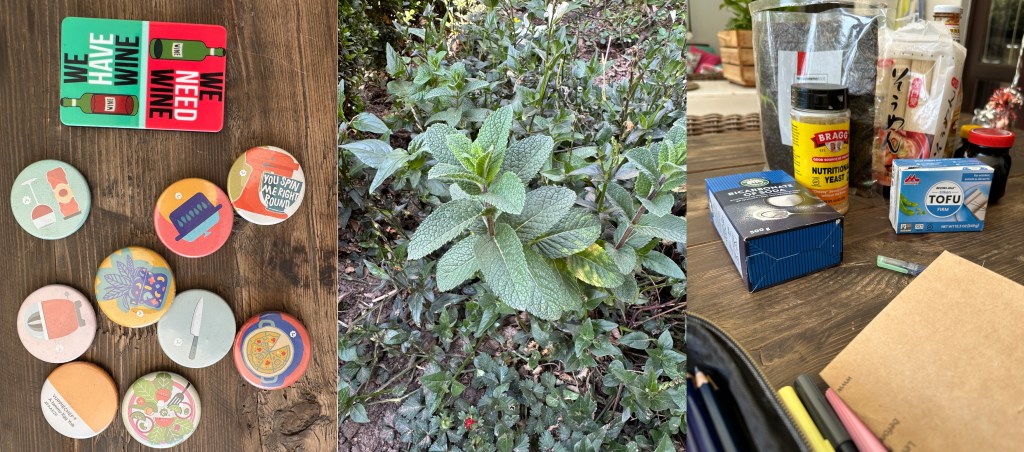
In Figure 1 are things from my kitchen. Fridge magnets, herbs outside by kitchen door and things from the pantry.
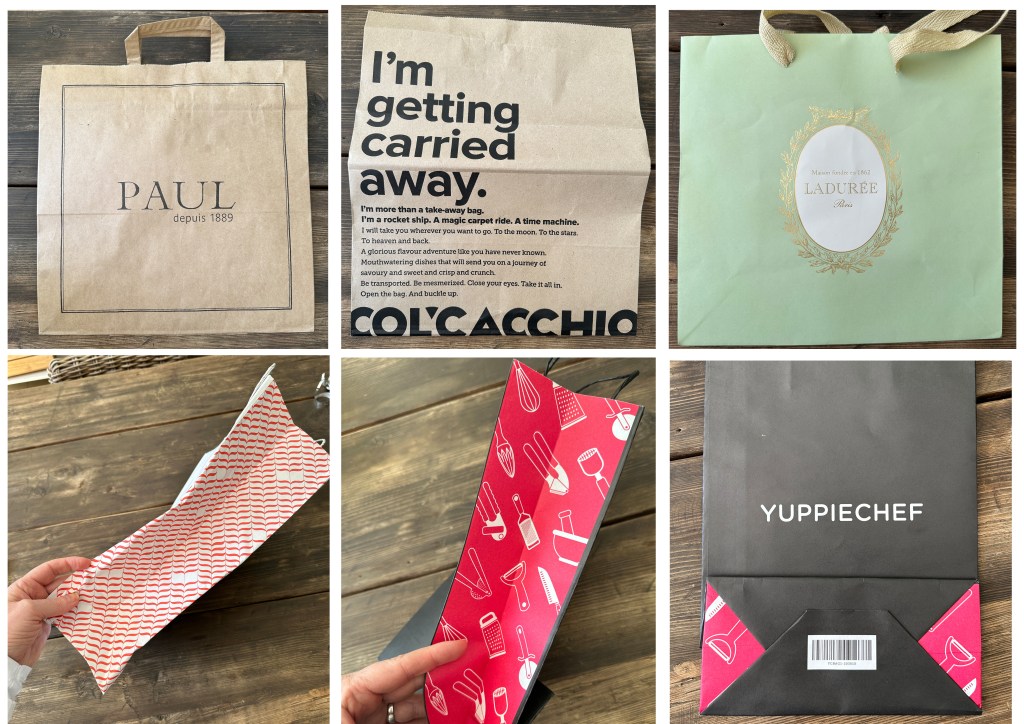
Now I will make my new sketchbook. I am going to use the large sketchbook I made in the previous exercise ‘Constructing a Visual Journal’ by adding a new section called ‘The Kitchen’. The new sketchbook that is going to fit into this journal will be a foldy made out of one of these carrier bags in Figure 2.
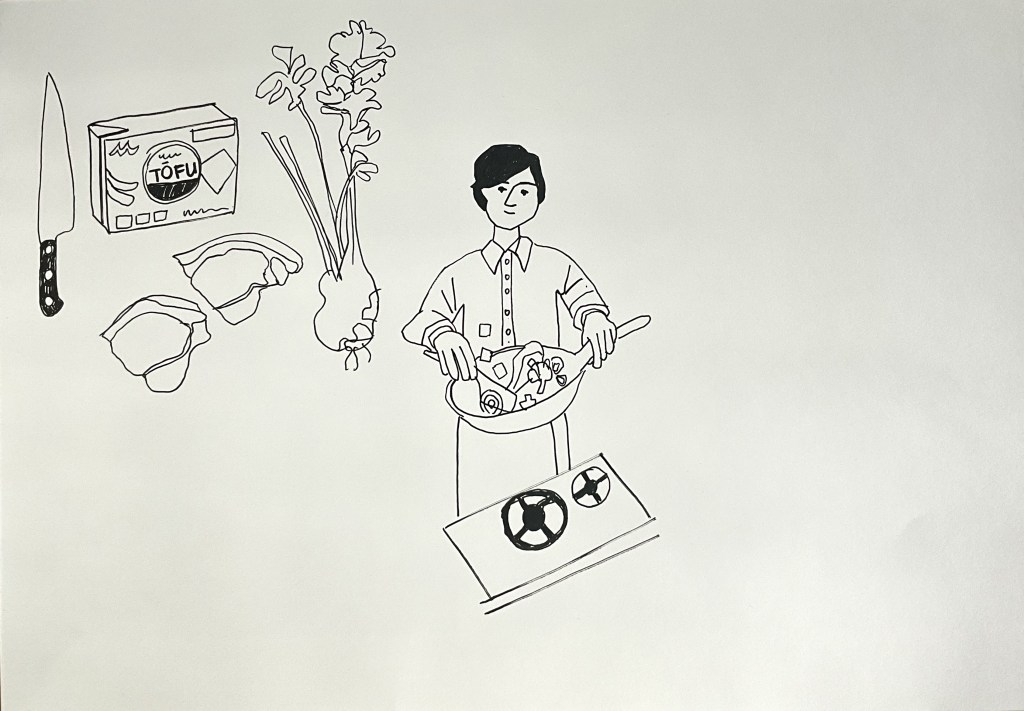
Below in Figure 3 are my sketches from the foldy.
I really enjoyed sketching on the brown paper bag. The bag is very durable and acrylic markers worked well on this surface. At the same time while doing observational drawings I decided to explore media as well by testing inks and crayons on this paper surface.

Before continuing to the next step which is SEQUENCE a spider diagram could help to organise some of my thoughts I have so far.
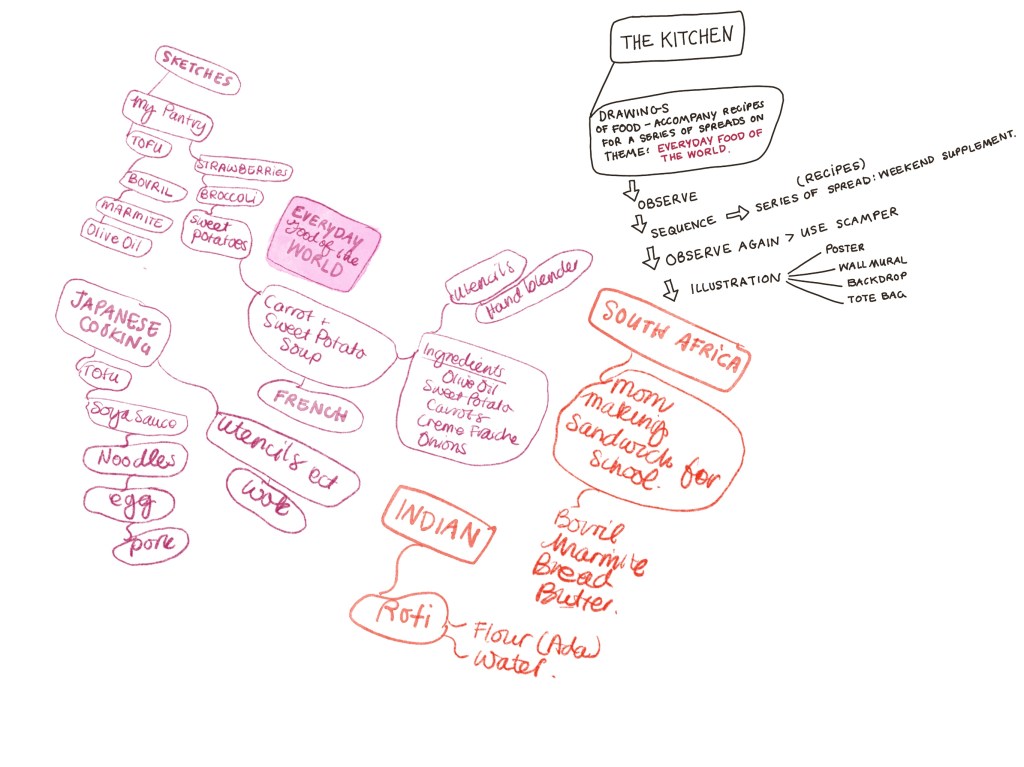
The following ideas came to mind while creating observational drawings:
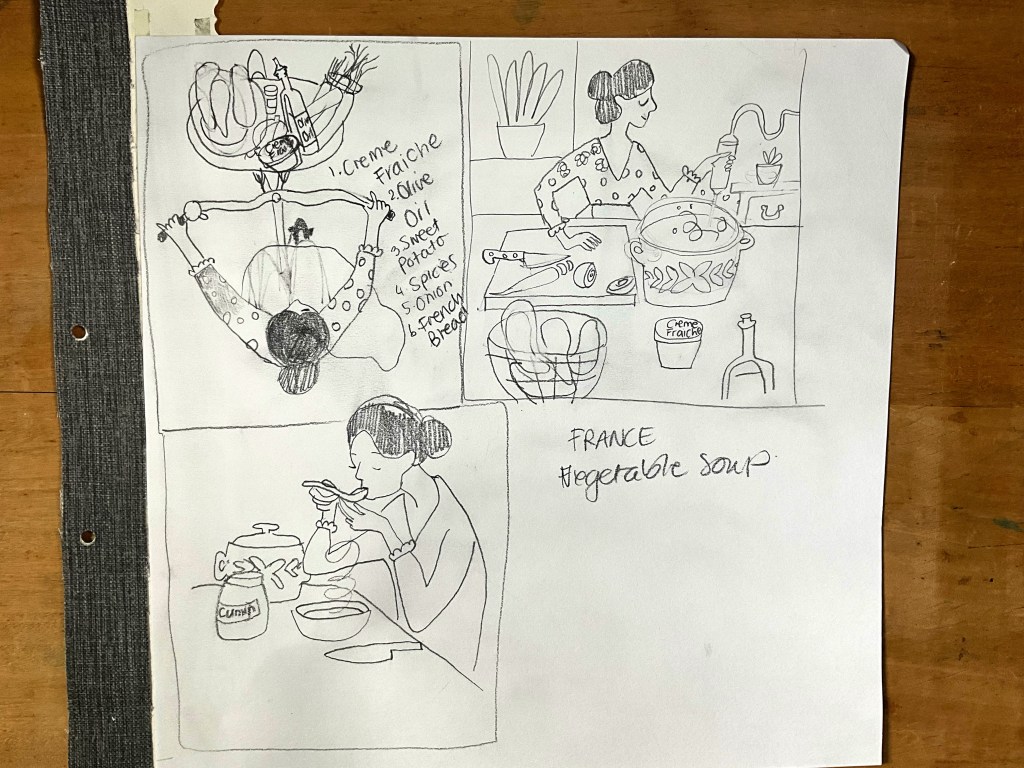
- The sweet potatoes made me think of a recipe that my family loves. It’s Sweet Potato and Carrot Soup. The ingredients are olive oil, sweet potatoes, carrots, onions and crème fraiche. It could be said that this is a French Soup.
- The Tofu made me think of a noodle soup that my son loves making. This could be Japanese cooking.
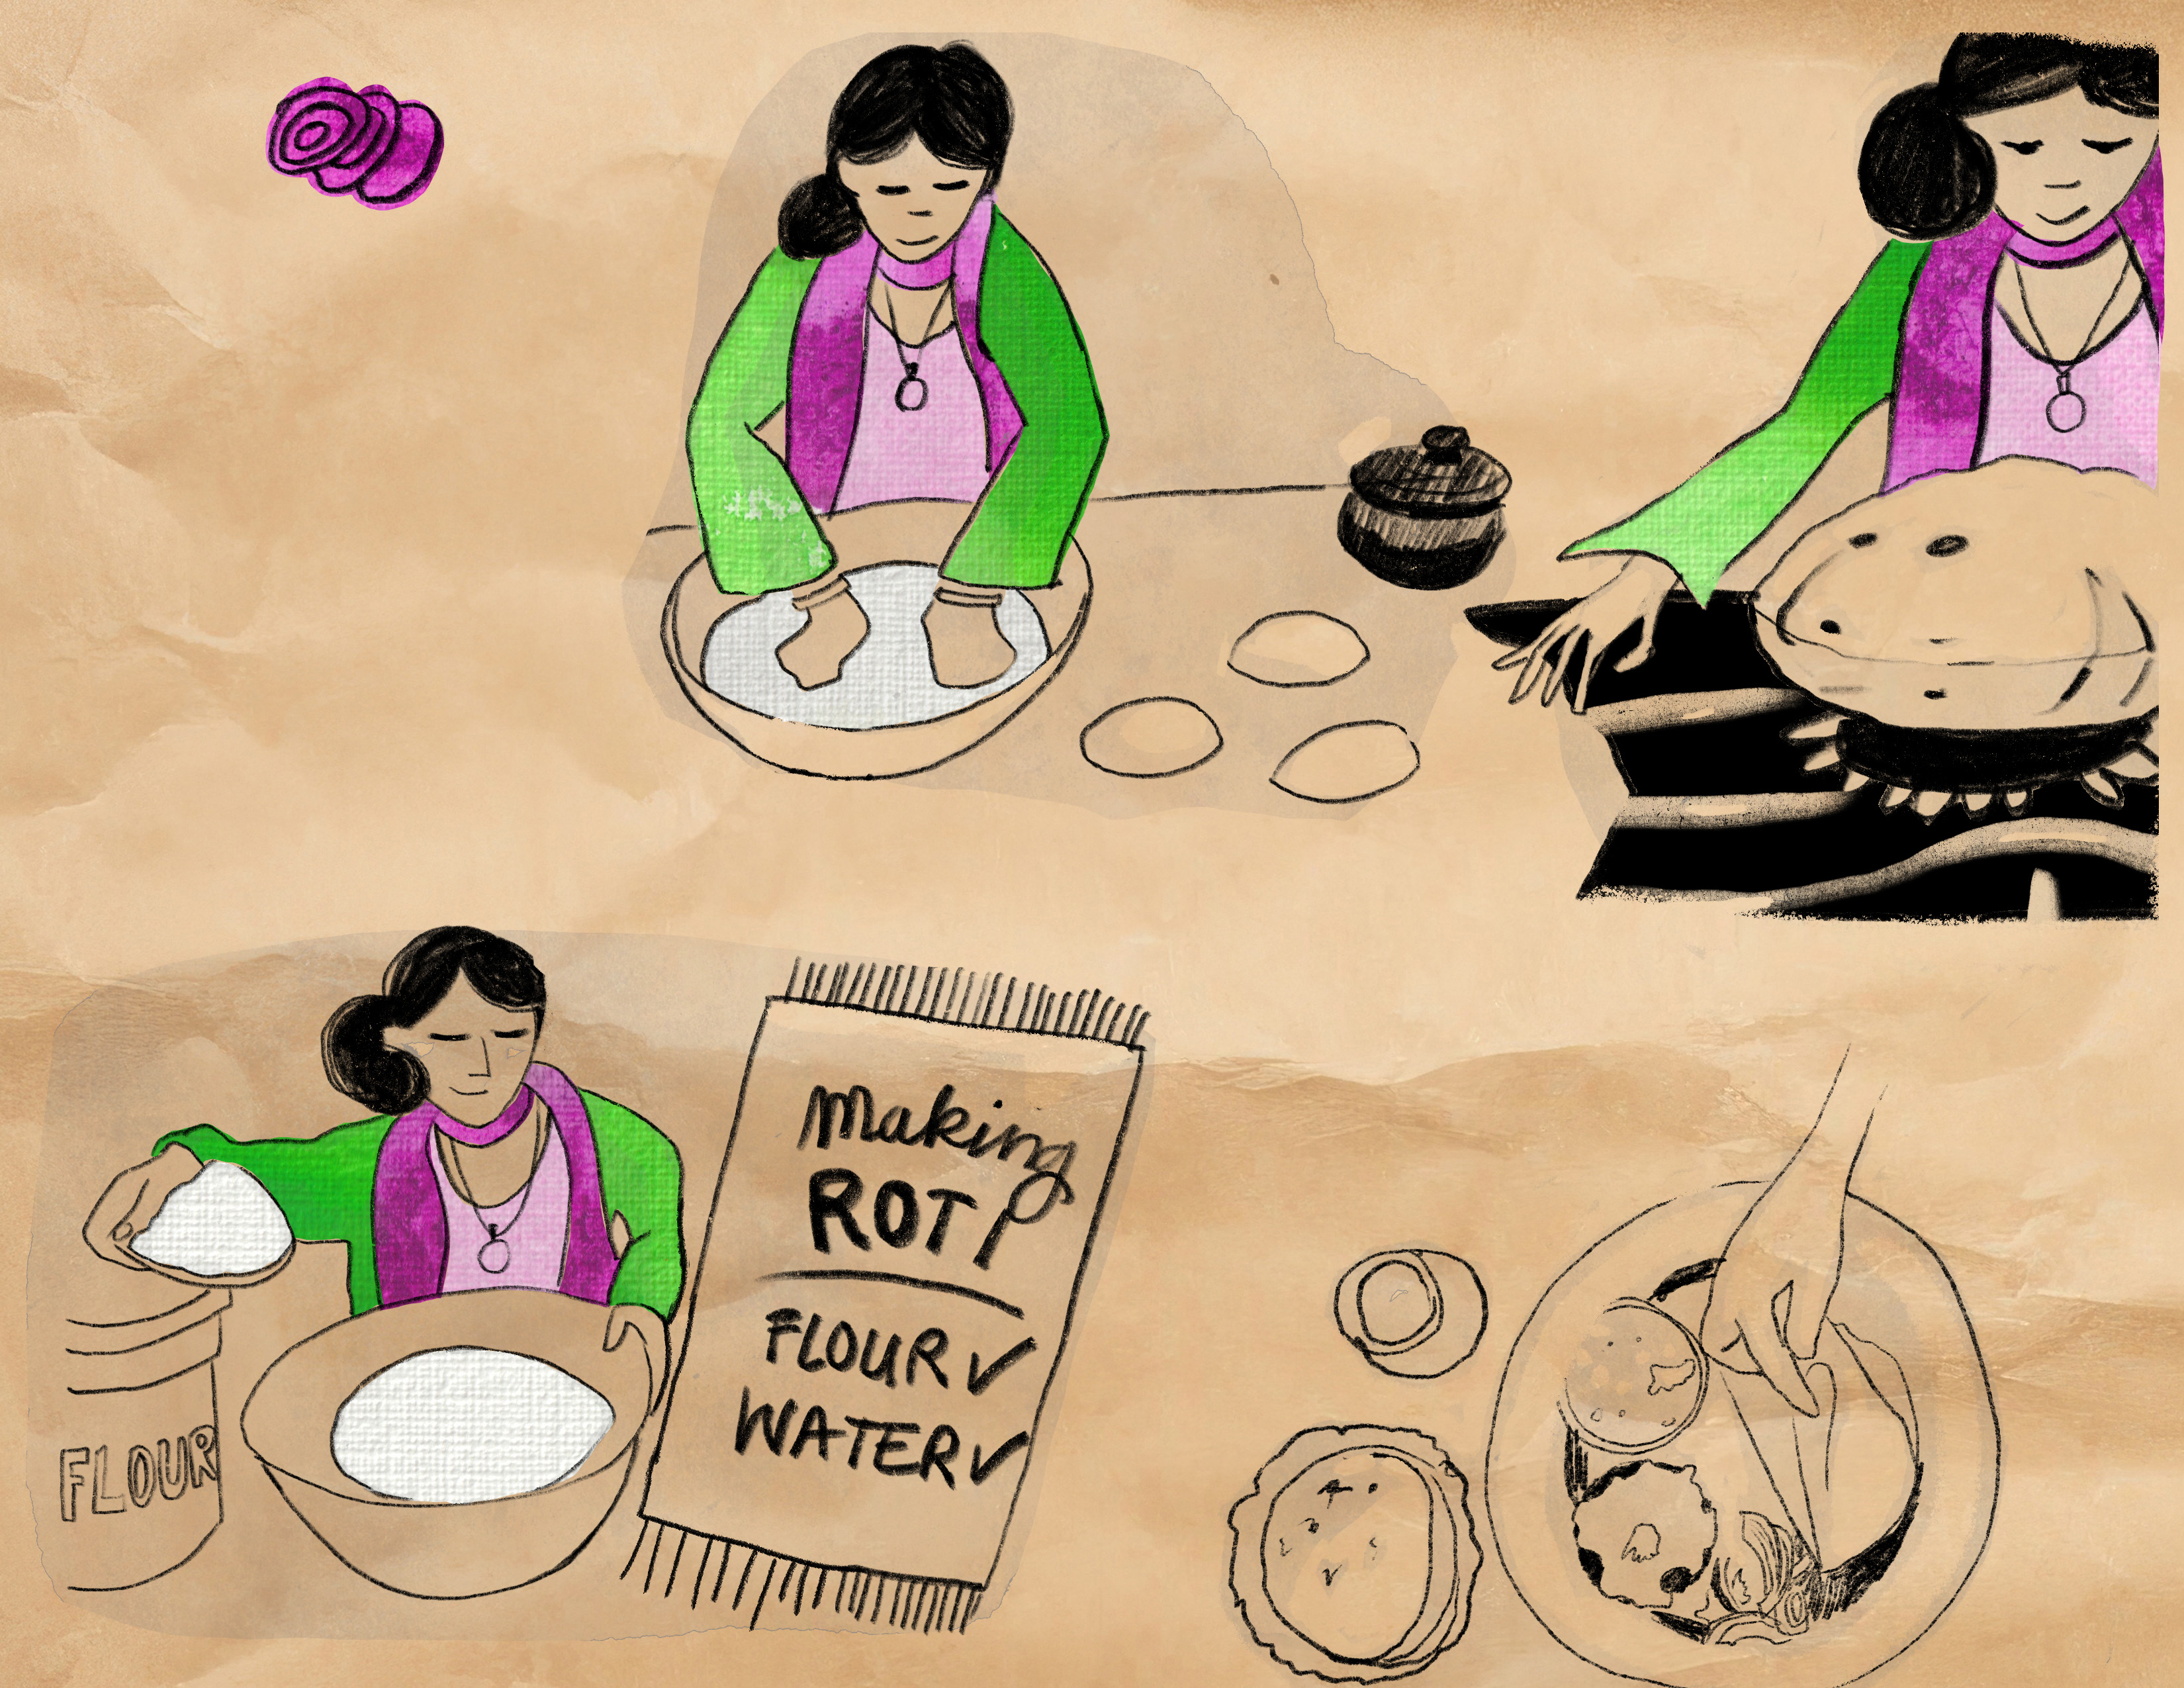
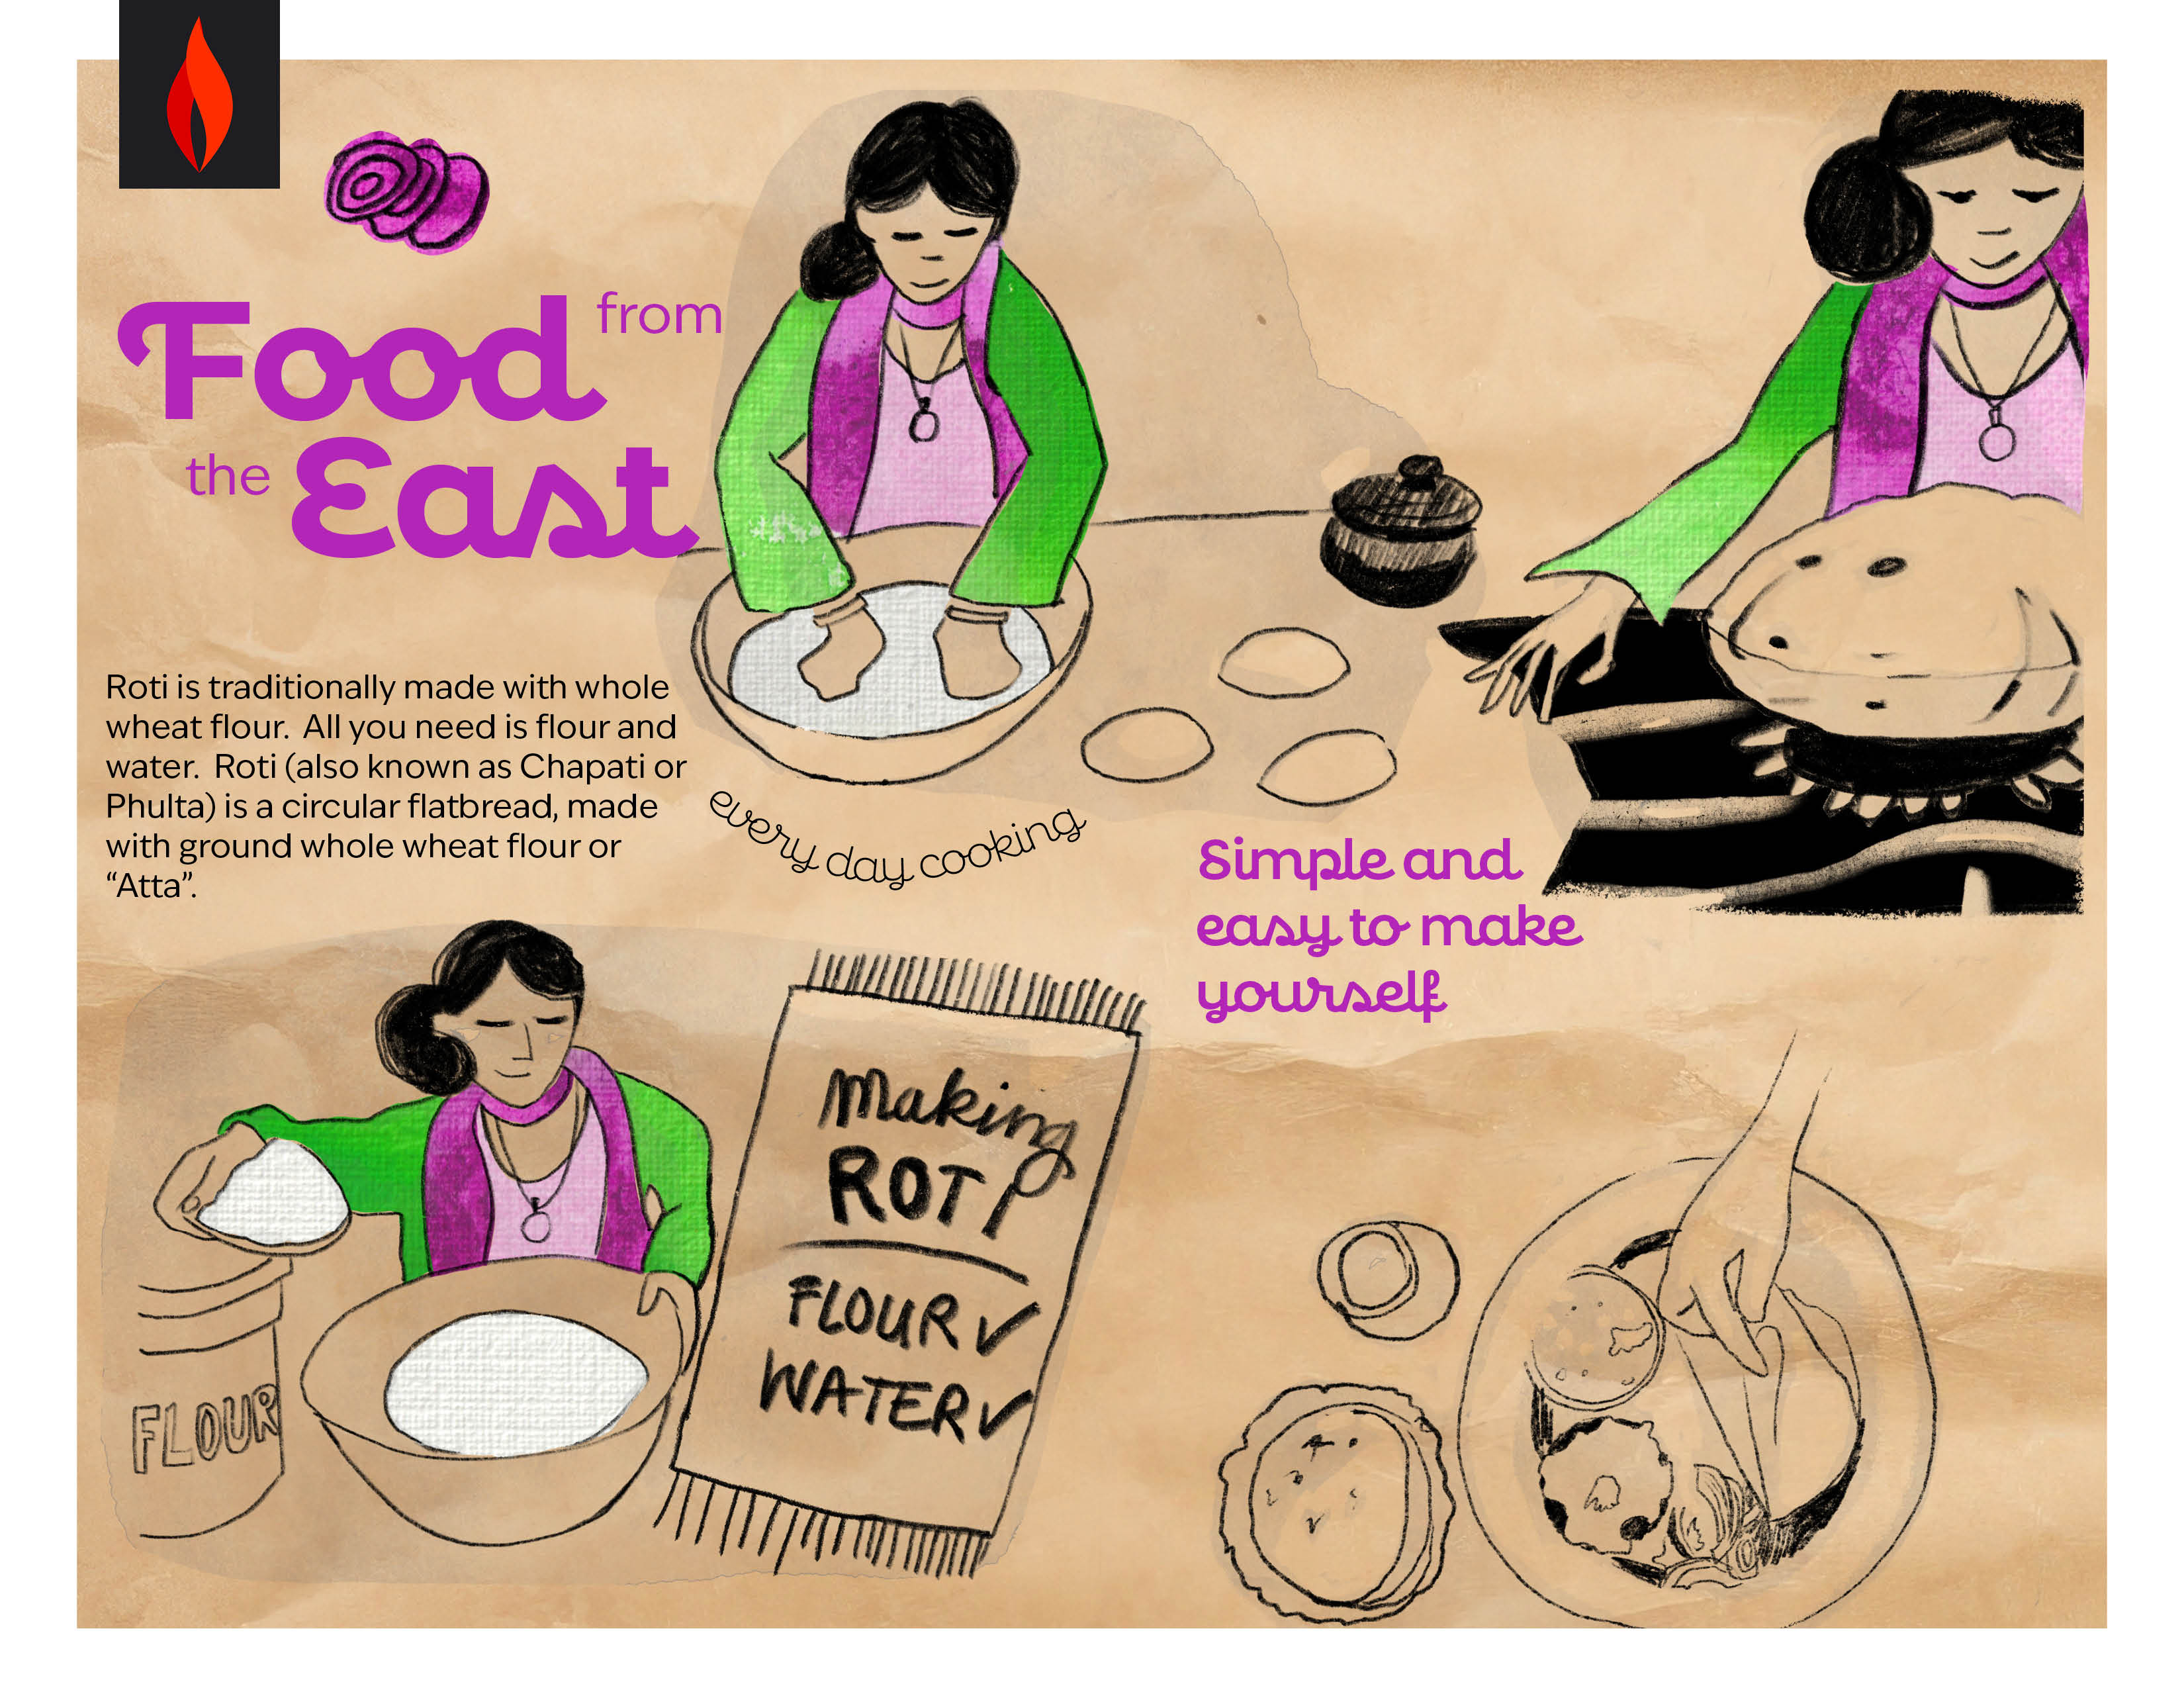
- Whenever we have Indian food, we love to eat Roti (bread). The spices in my spice rack made me think of Indian food.
- Then, the Bovril and Marmite made me think of a mom making sandwiches for school. Many times, when I was in a pinch for time, I would make these sandwiches in the morning.
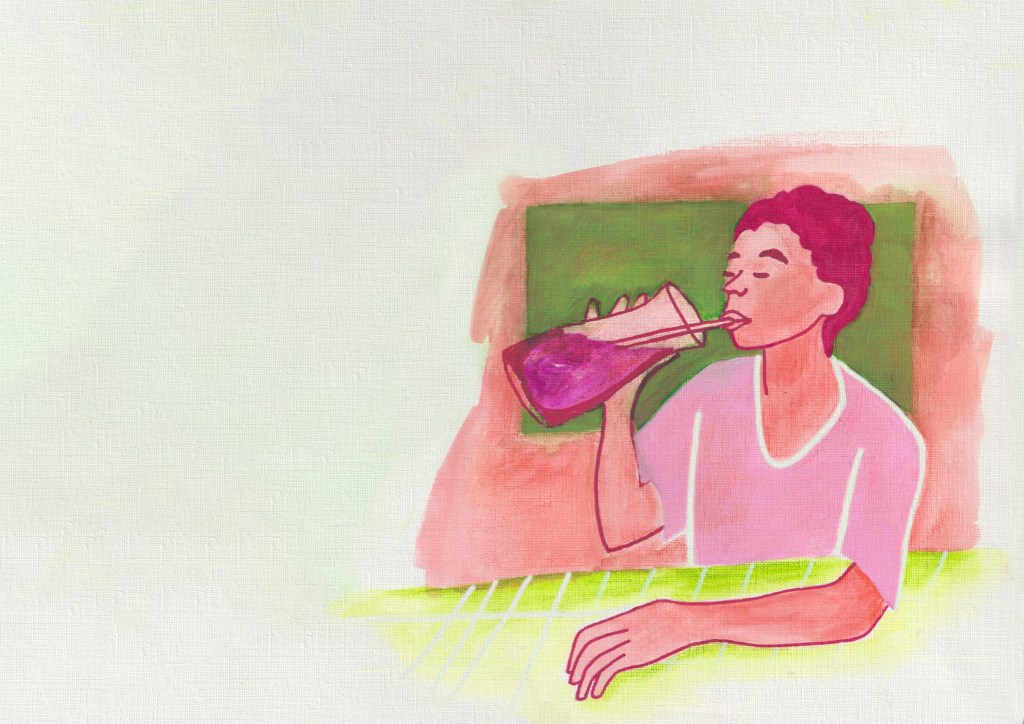
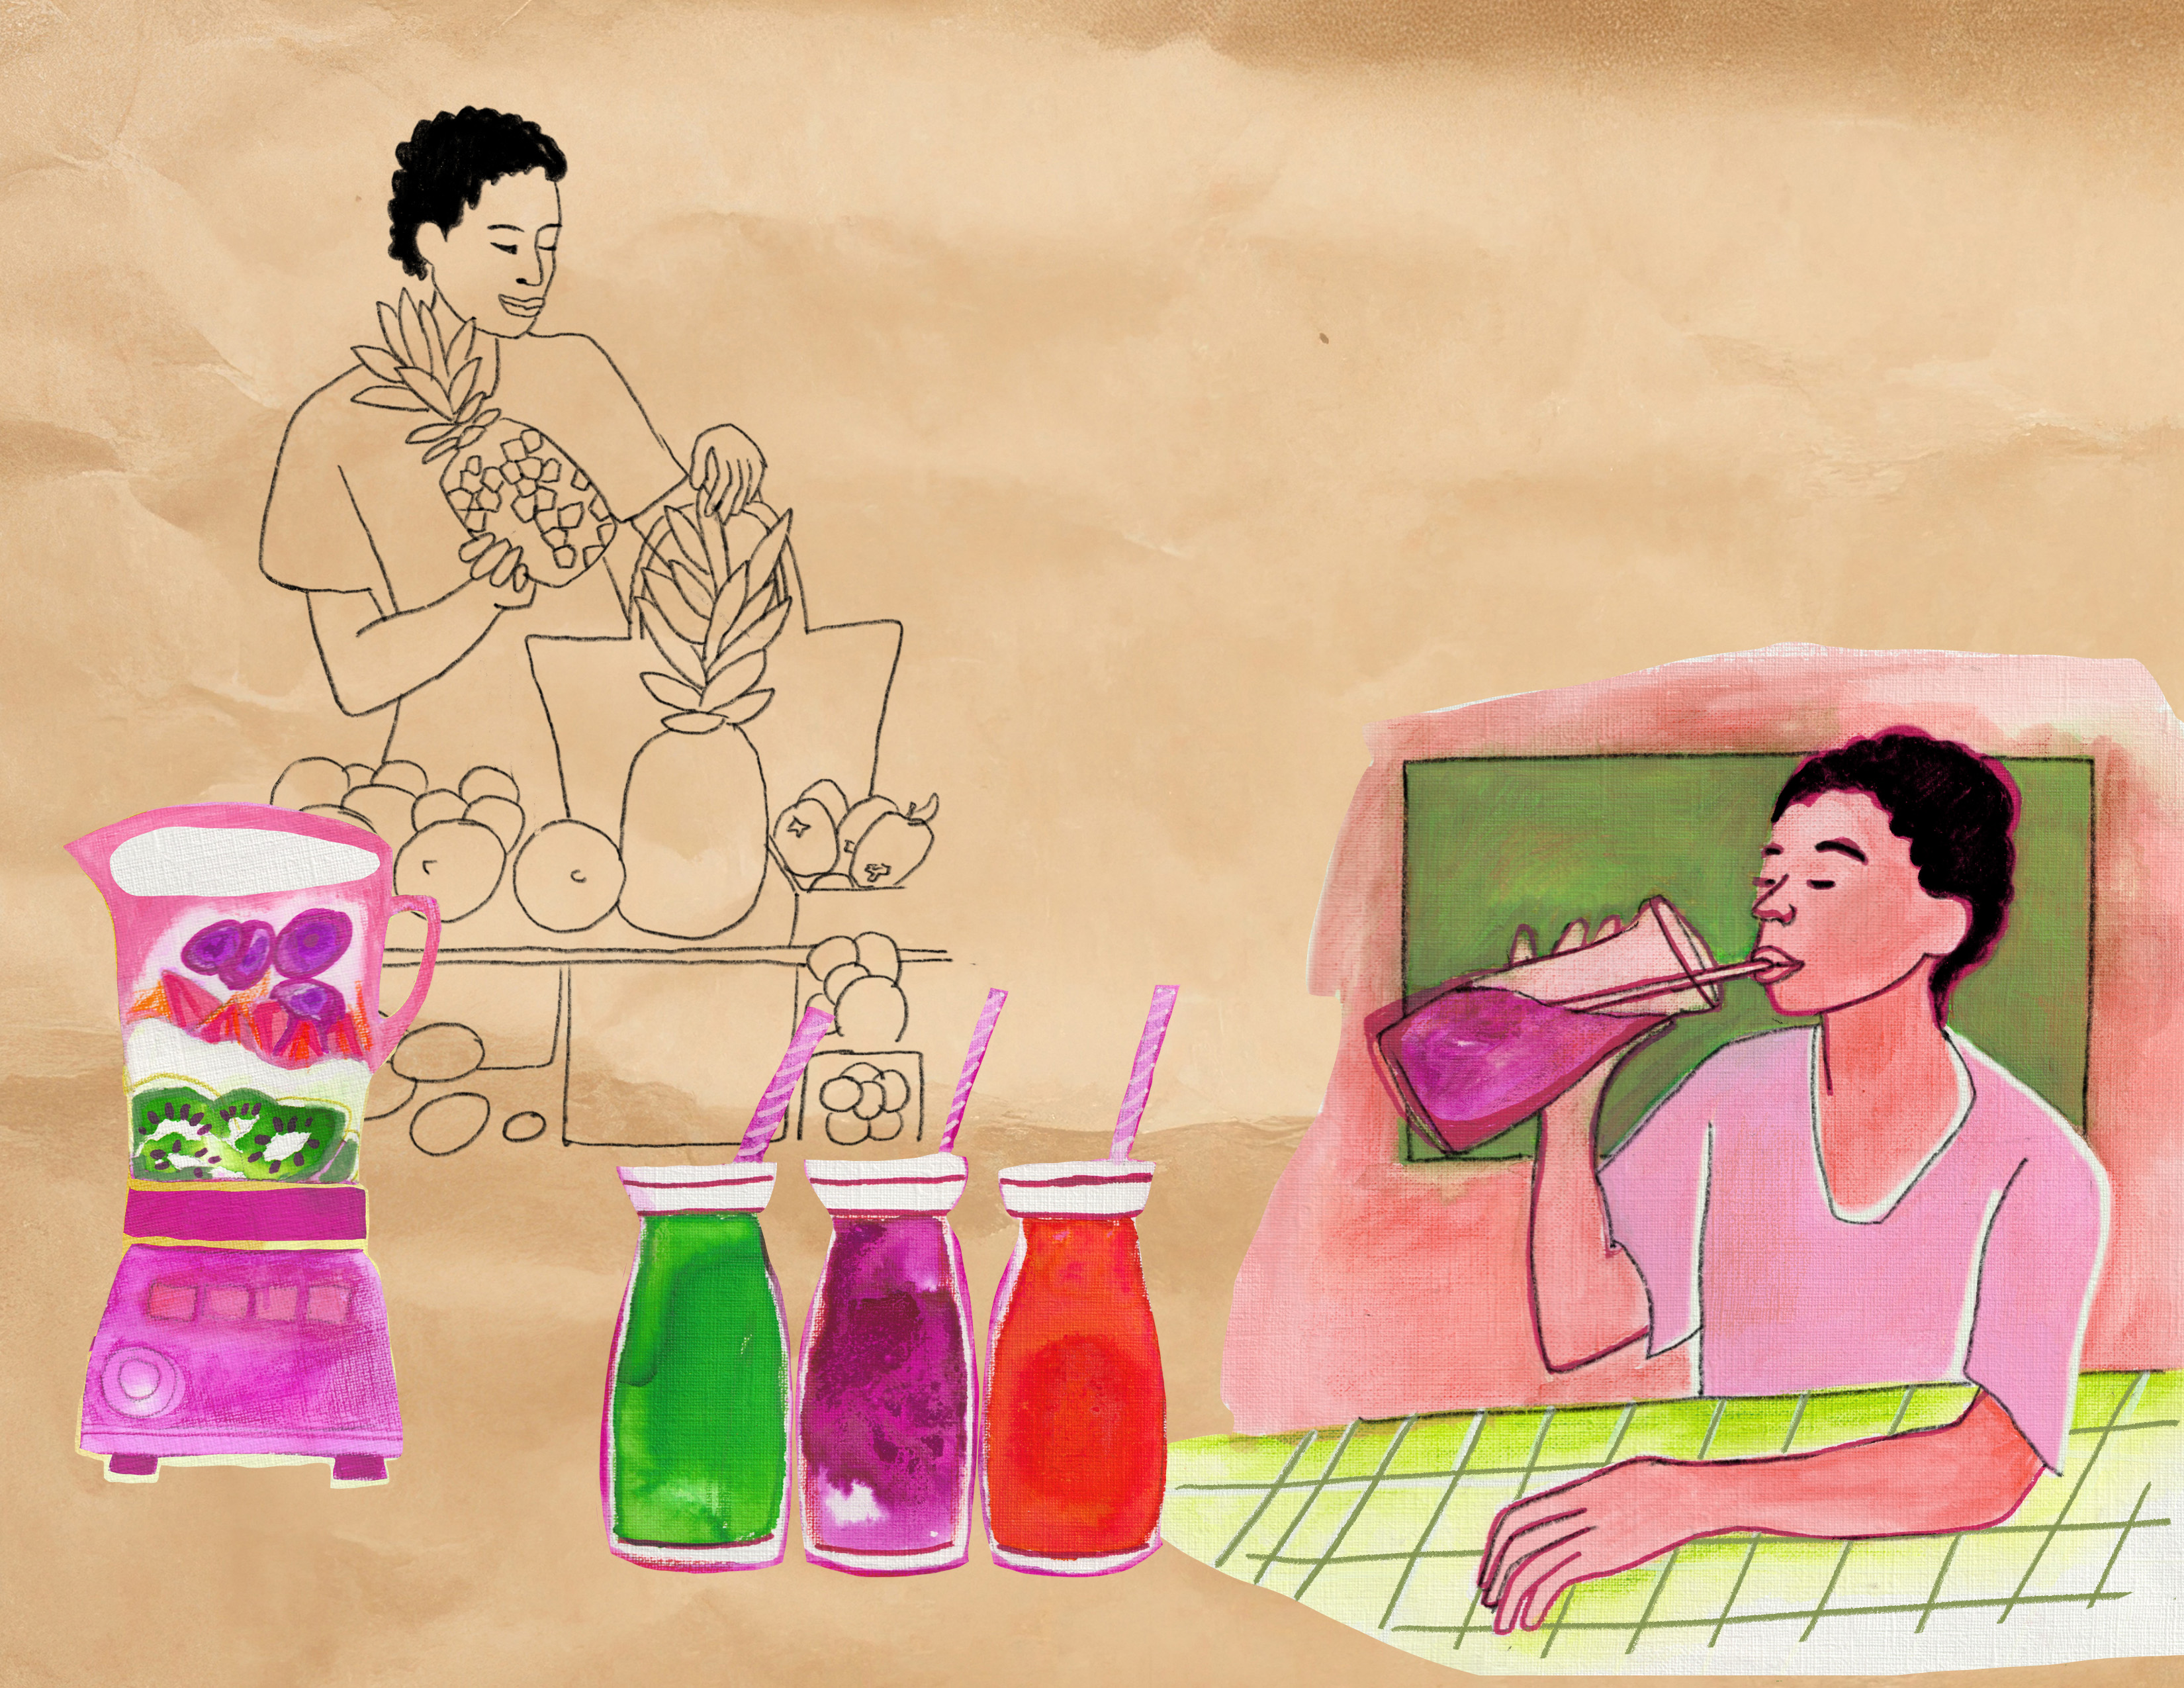
- The bowl of fruit on the kitchen counter made me think of the wonderful fruits we have in South Africa because of the tropical weather.
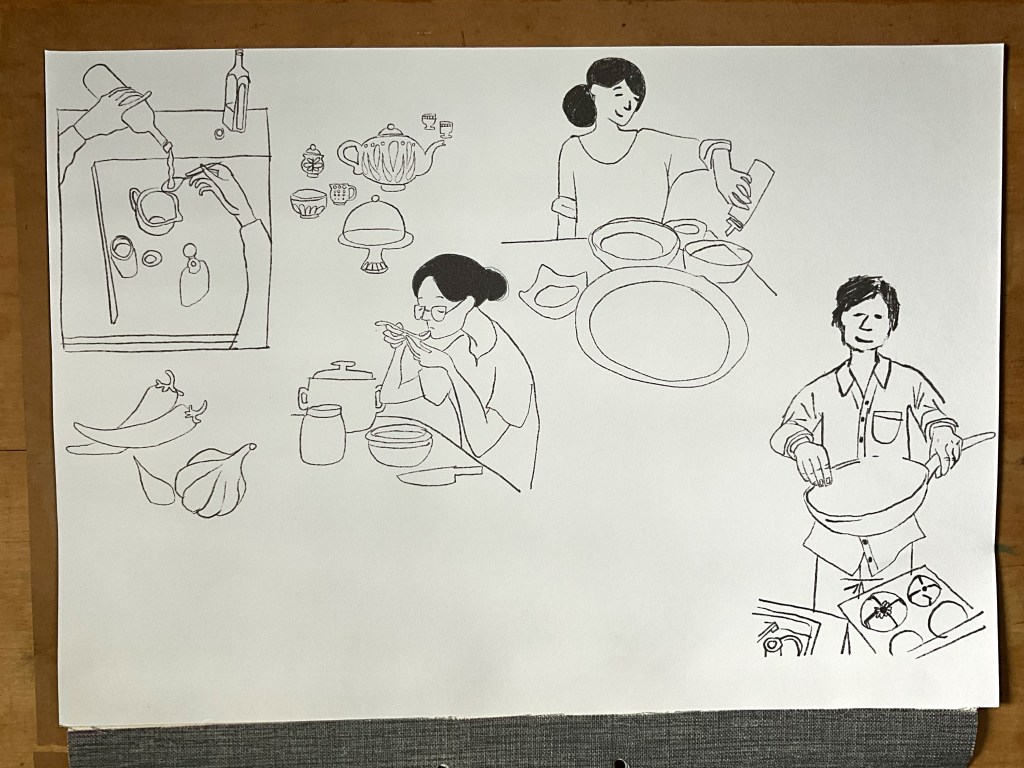
Step two – SEQUENCE
Now I am continuing drawing, and because one of my action steps where to do more line drawings I will now concentrate on getting more ideas down referring to my spider diagram and the ideas in the bullet list above.

A note on scale: I have been drawing on large A3 pages which is very nice getting all your ideas on one page and not being limited with space, the downside however is scanning the page. I had to photo merge the above page when scanning, but later I discovered that taking a photo with your iPad also works well.
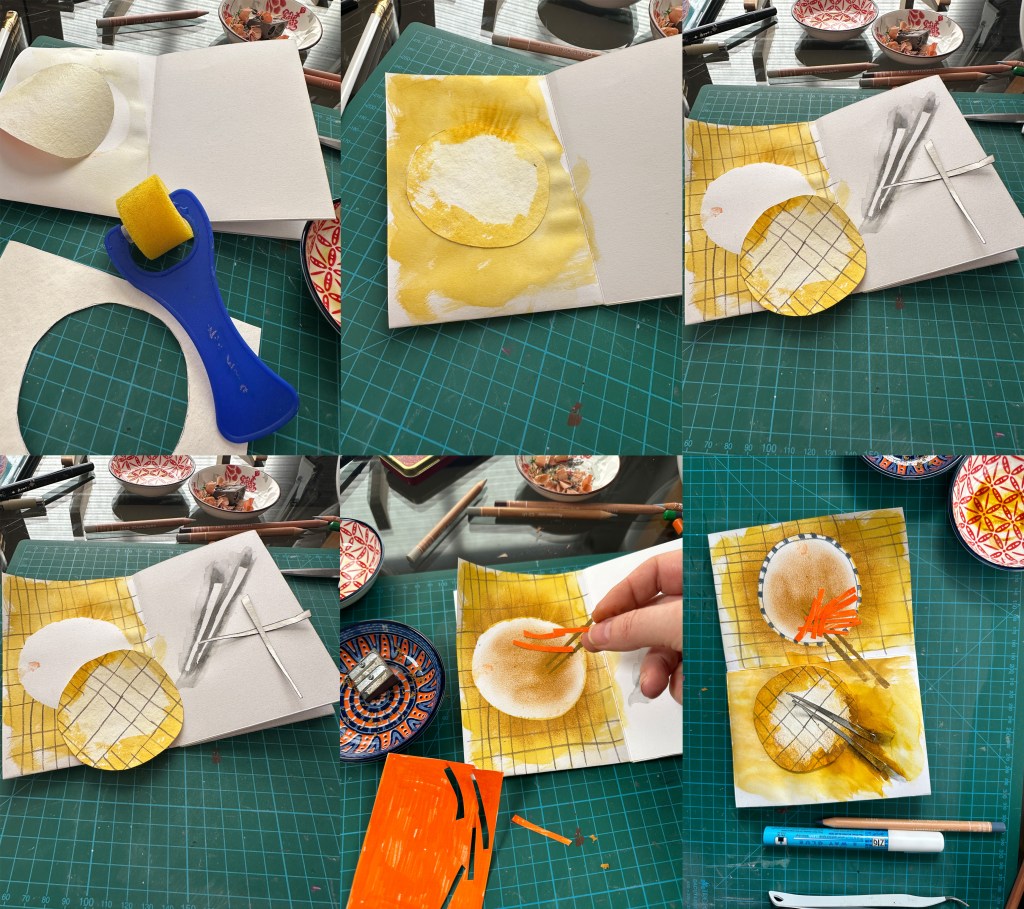
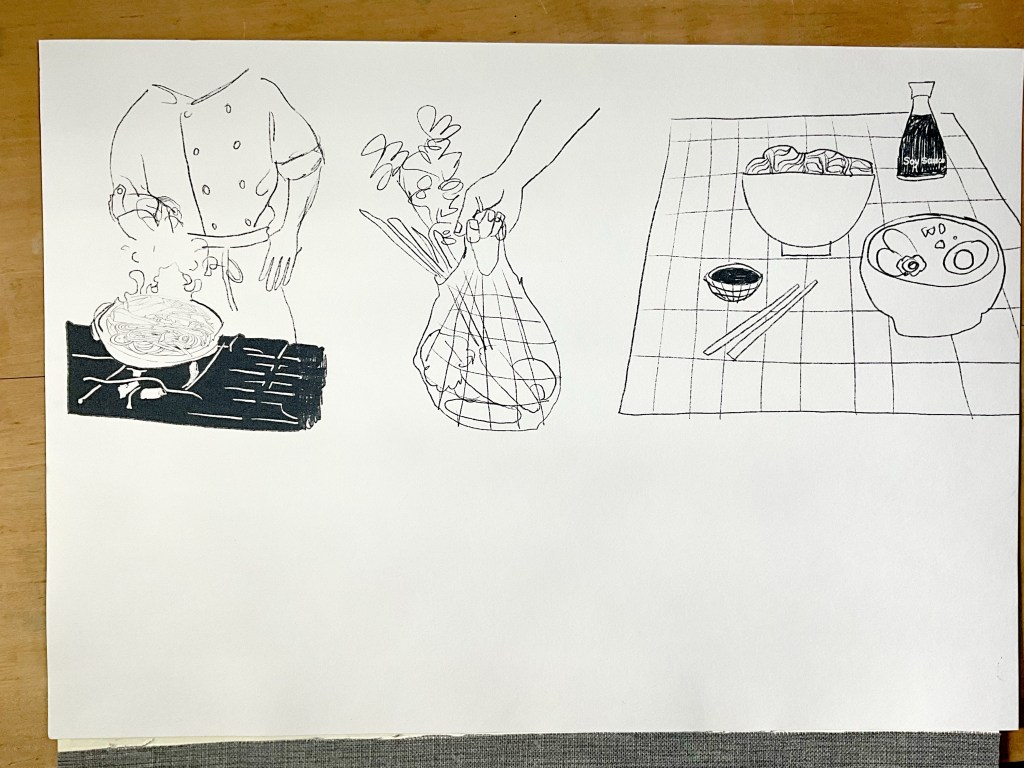
I was starting to get worried about how I would illustrate a bowl of food which I have tried in the next set of drawings. This time, I explored putting a cooked dish together and trying it to look appetising.

My aim in Figure 4 was to make the white plate stand out and simplify the food to be recognisable.

I have also observed cooking methods by watching the cooking channel or paging through a cooking magazine.
Now that I have a few ideas, I am starting to work on sequencing. I am also trying to find pictures in my sketchbook to fill in the gaps needed to tell a story.
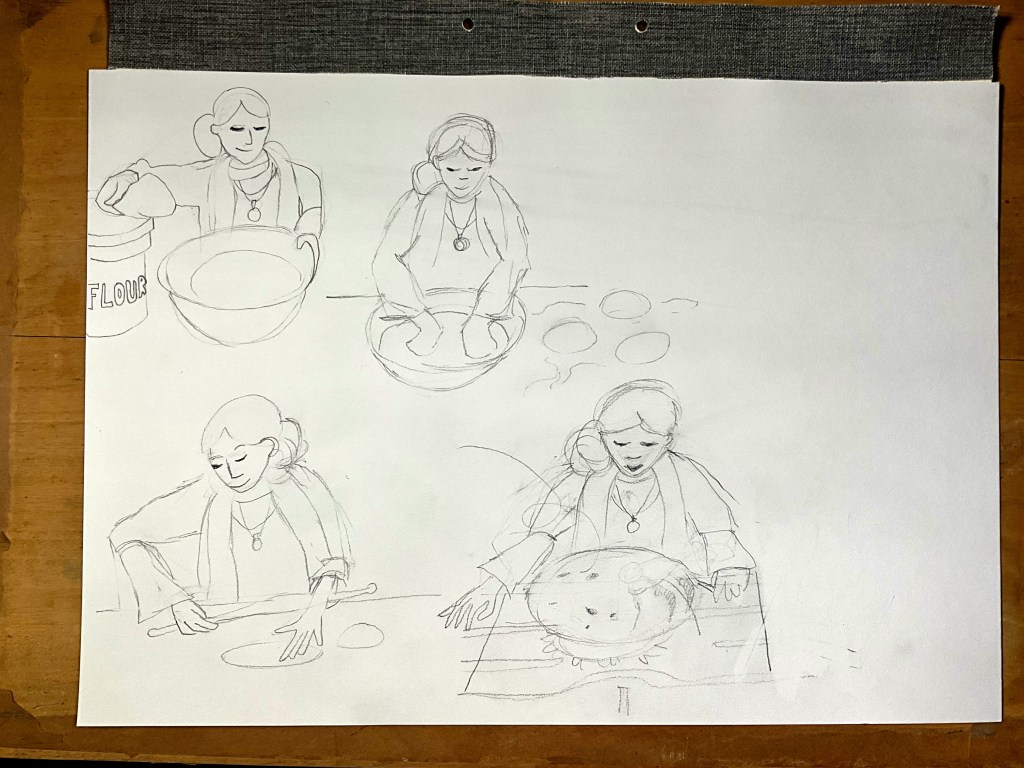
In Figure 13, I watched a video of an Indian lady making Roti. I will pause the video and sketch what I see.

At this stage, I feel I have enough ideas together to continue to step three – Illustration.
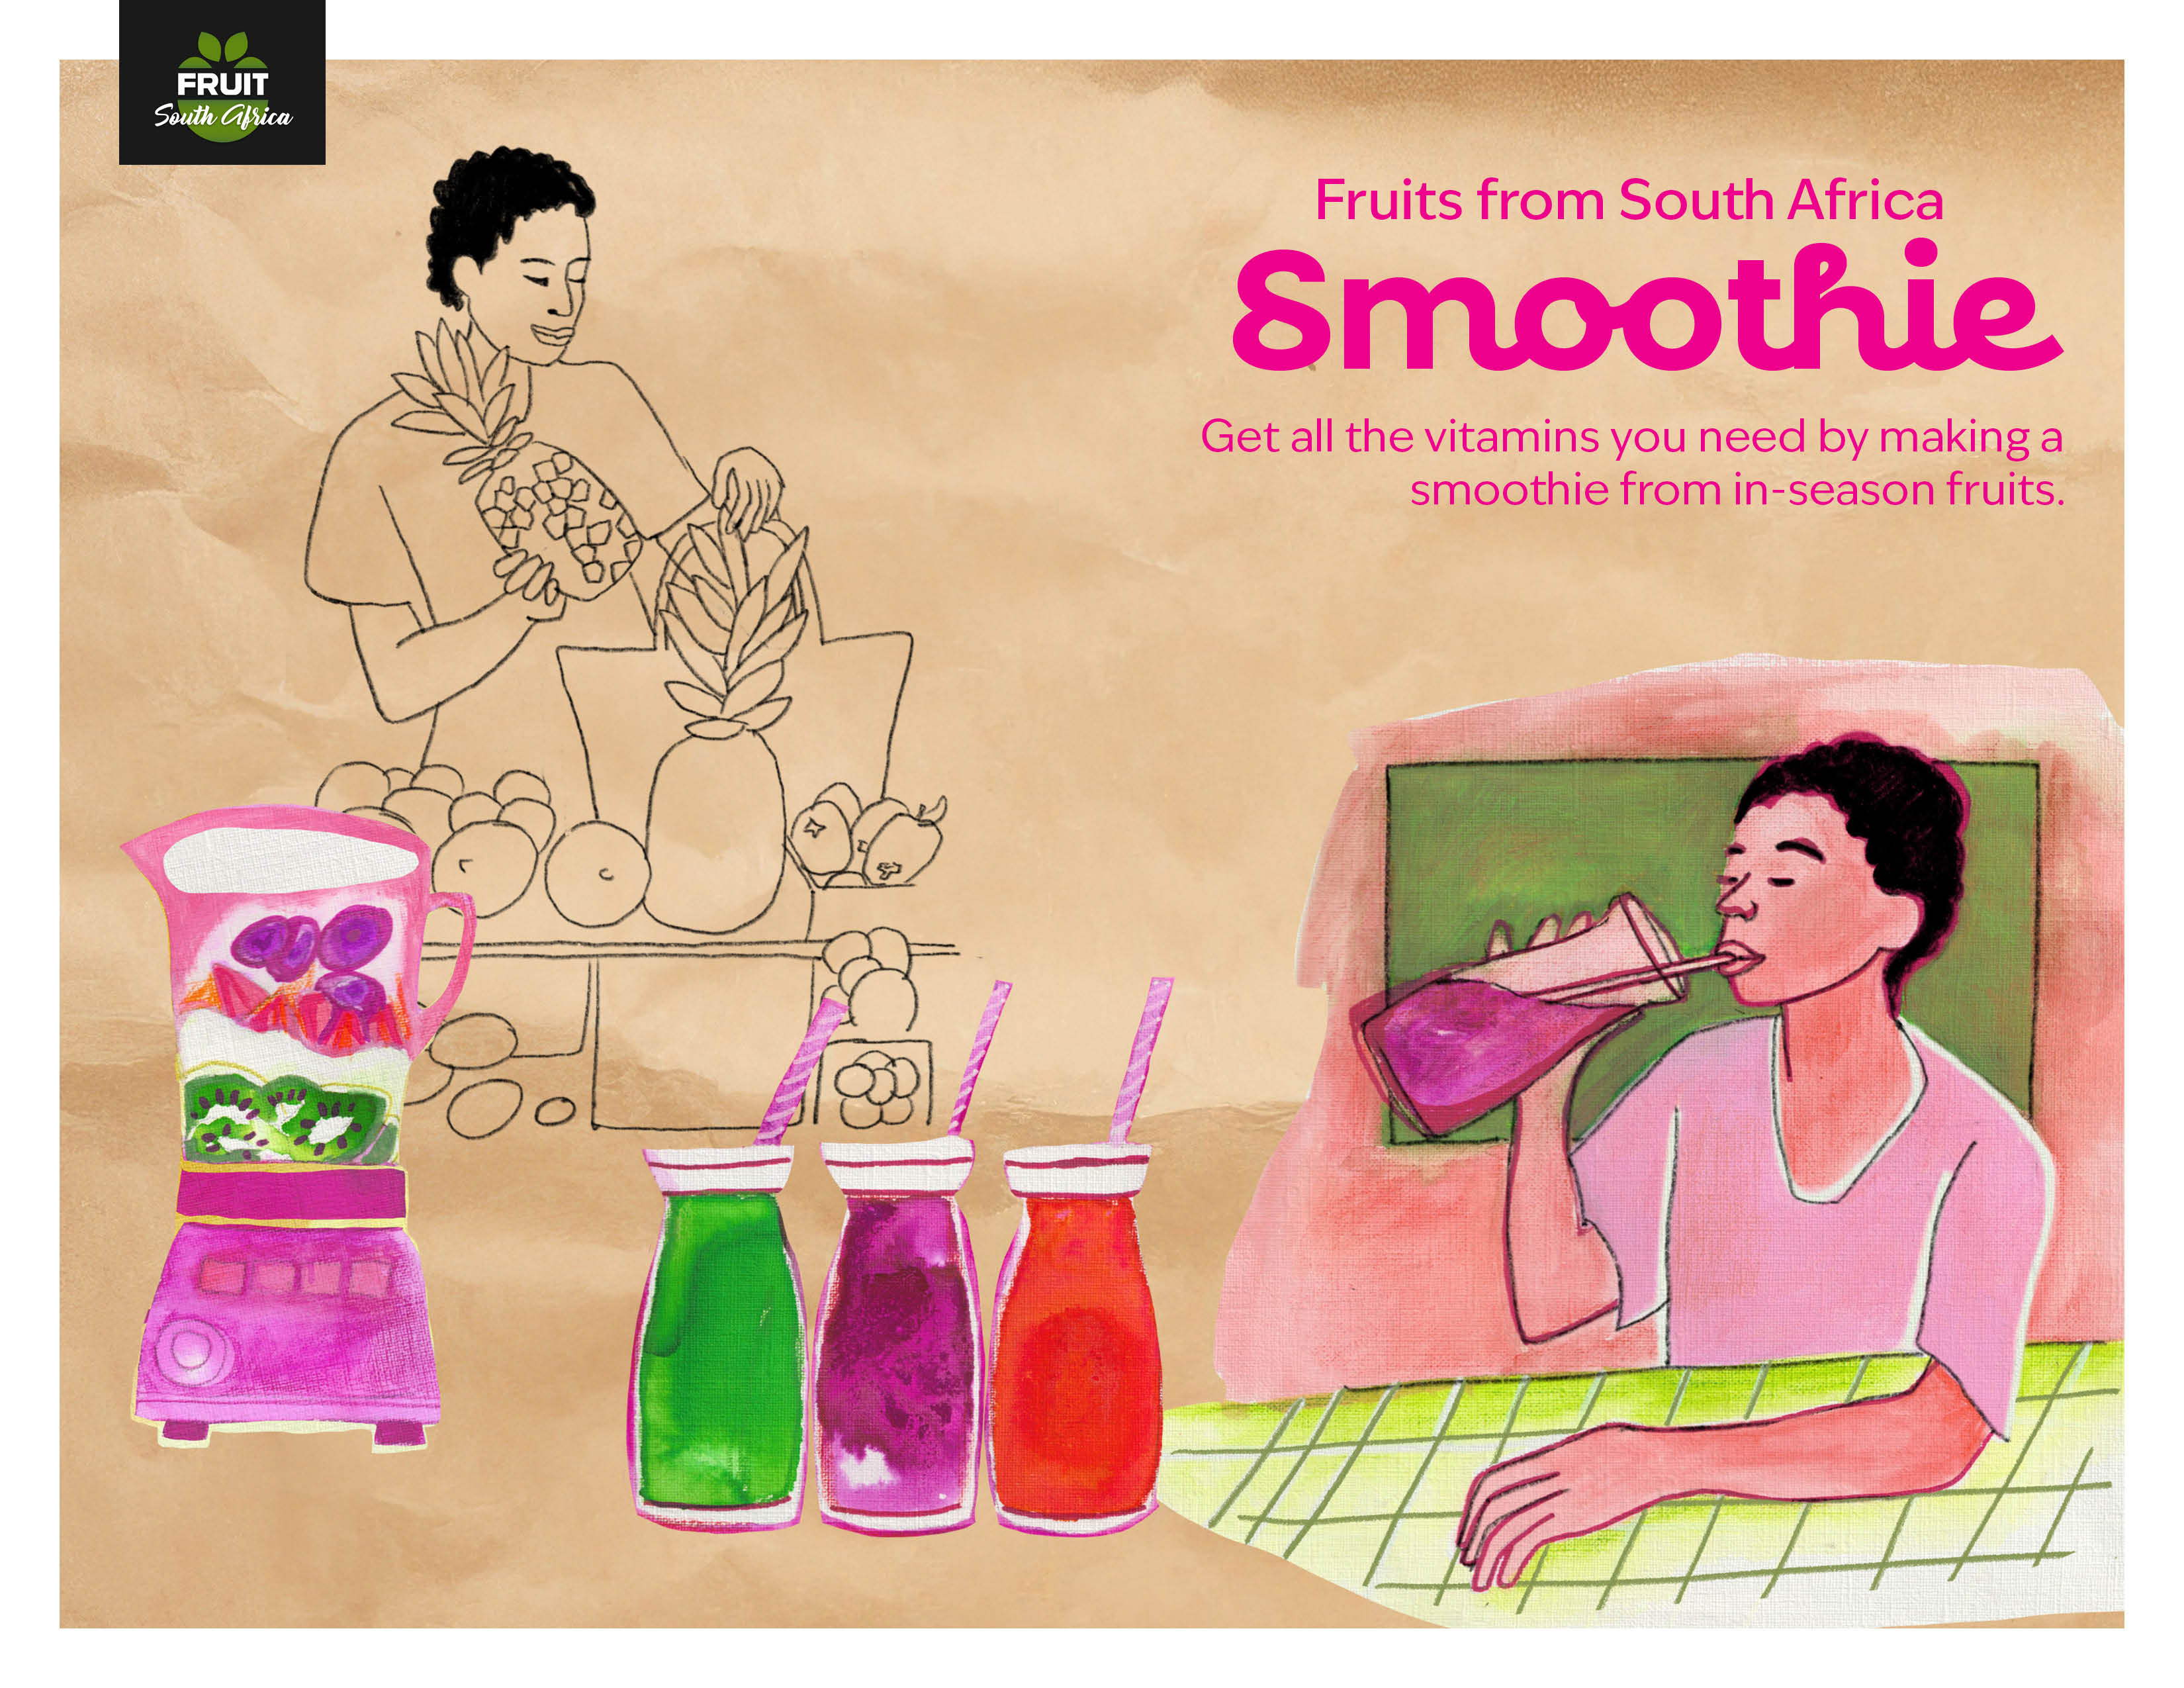
Step 3 – ILLUSTRATION
I will now explore layouts and how I will present my ideas in a series of spreads in a weekend supplement. Paging through magazines I noted the layouts that might work.
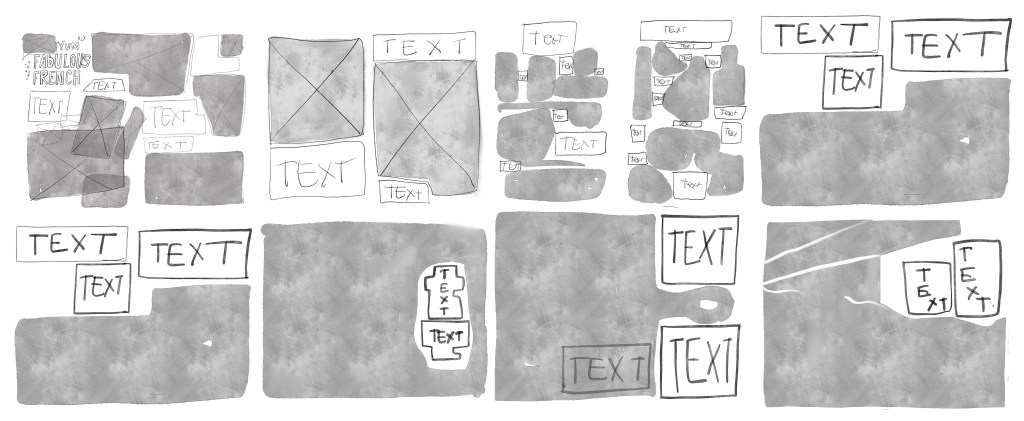
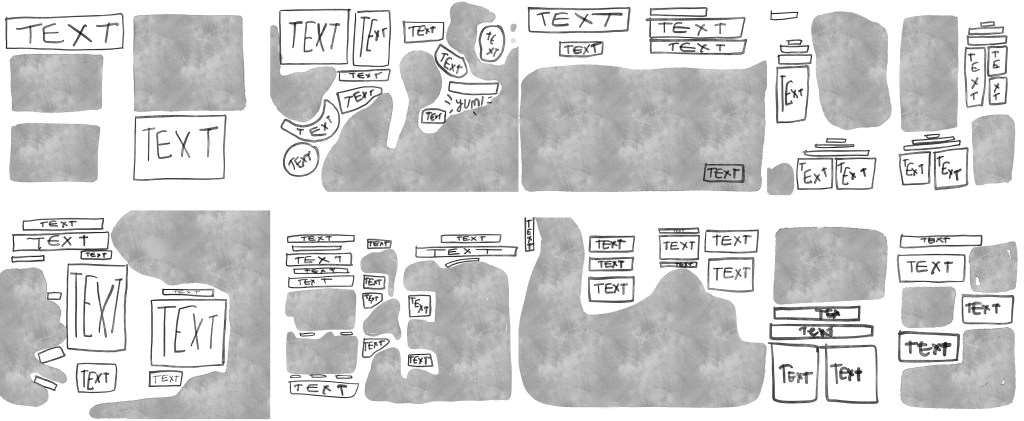
After trying some of the above layouts my illustrations are ready to be painted and then scanned into Photoshop for finishing touches. I will then do the rest of the layout and text in InDesign.


I have decided to keep the look and feel of the Bovril sketchbook illustration, for the bag tote bag. This will keep with the theme and will be British. The feel of the bag will also work well in an Organic Shop.
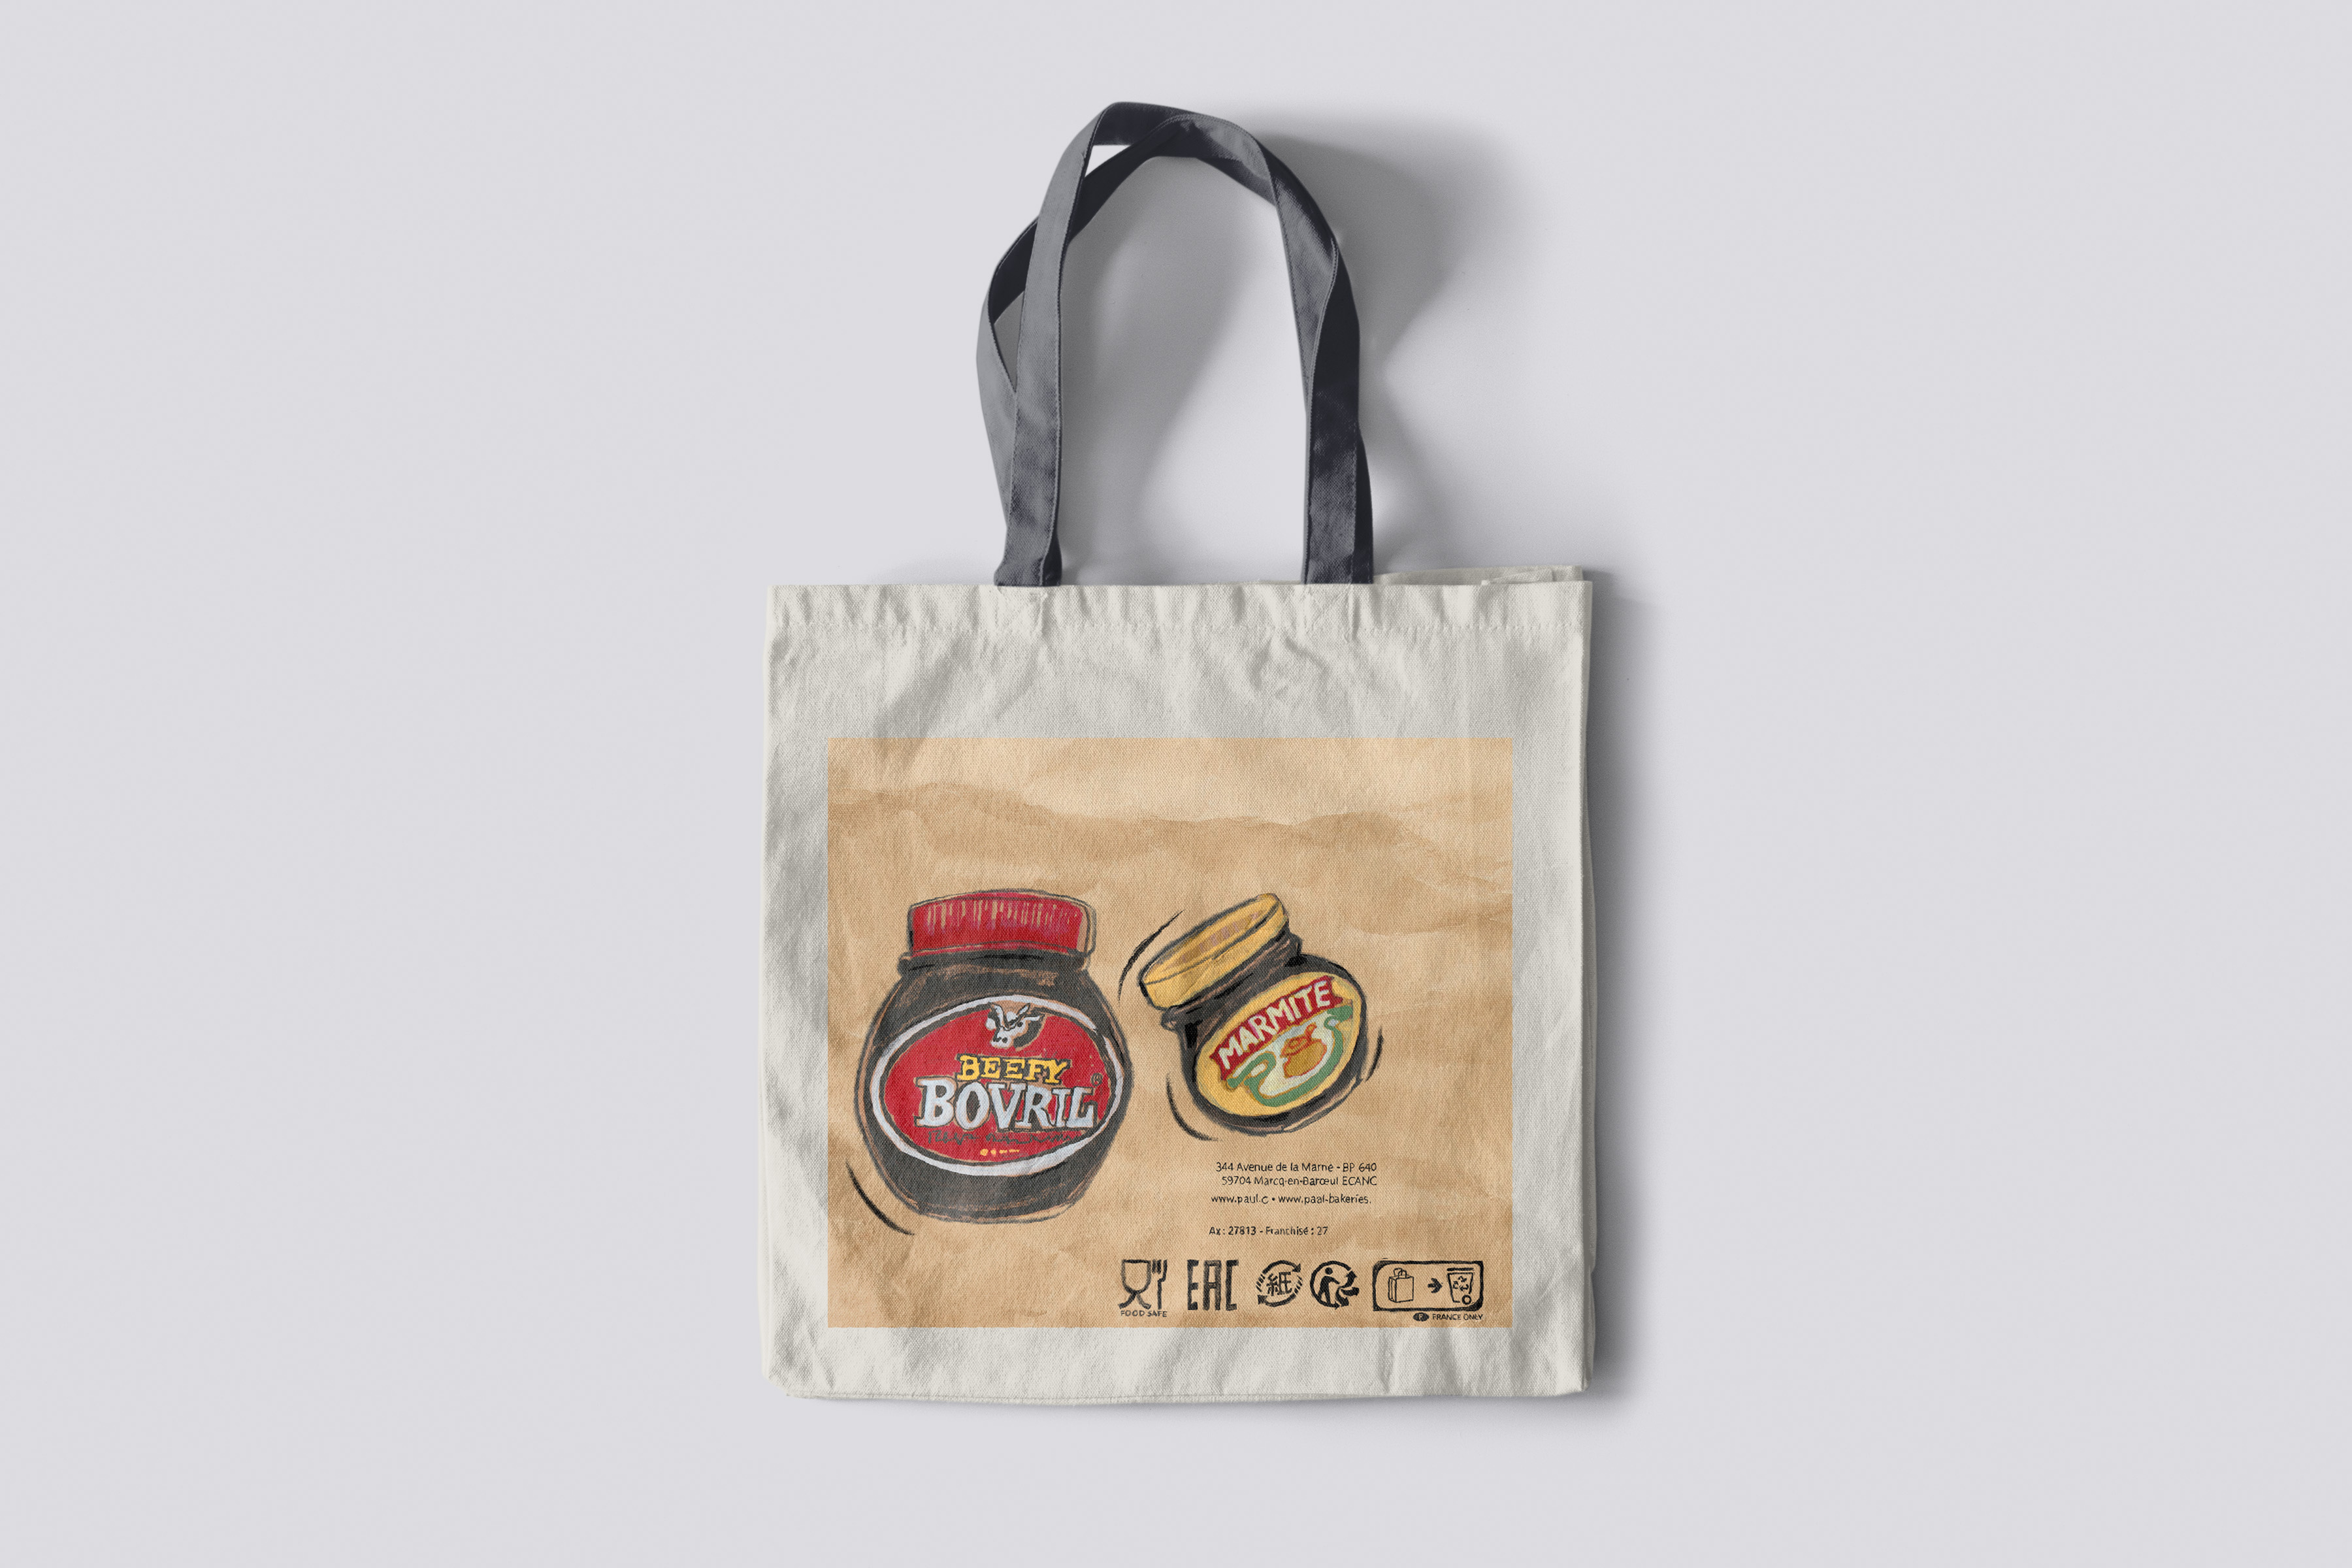
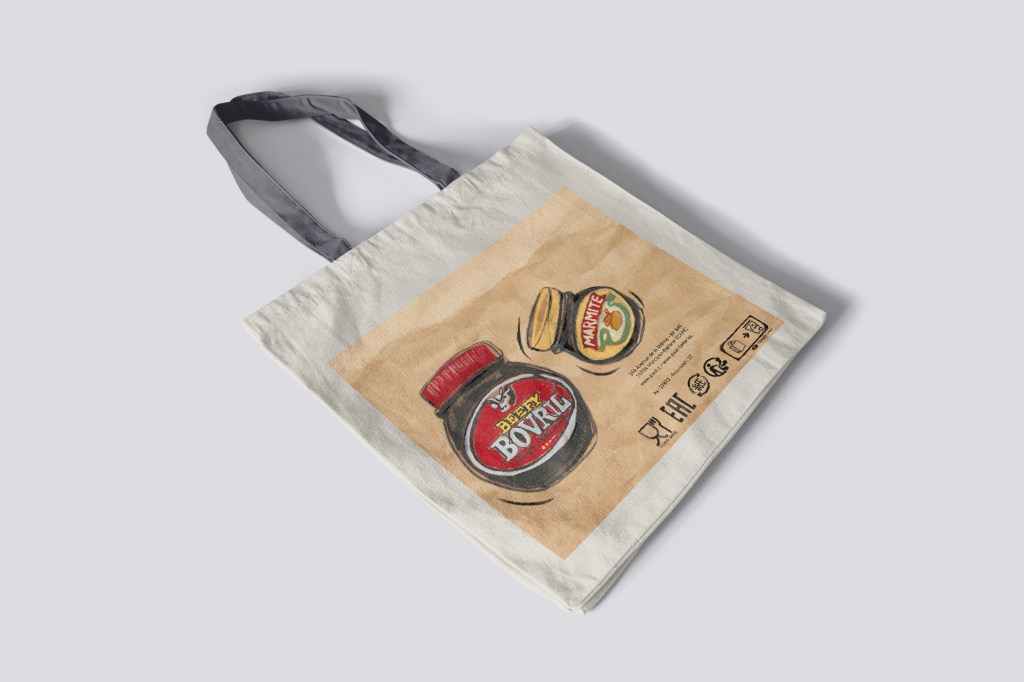

I have used SCAMPER to refine the sketchbook drawings to be used in Photoshop and InDesign. The layout has changed as well as the colours are more enhanced. I removed the background and used a photo background of one of the carrier bags from my Visual Diary.
Final Reflective Statement
I have learned a great deal during this course. My drawing style has changed to a more relaxed and loose drawing, and I am more comfortable drawing people and moving objects. Keeping a sketchbook will always be part of my creative process and I am very pleased to know more about all the different ways you can use your sketchbook for illustration and design work.
I am using a wider variety of mixed media and welcome a looser mark-making approach. One thing that stood out for me in this course is all the ideas that can be collected by drawing often in your sketchbook. I have a rich stack of ideas that I will be using in the future. Whenever you want new ideas, go out and draw on location. It is incredible how this process is a catalyst for new ideas.
The digital sketchbook circle made me realise that people see things very differently from each other and this should be taken into consideration when creating a visual language.
